In this tutorial we are going to show you how to use free SSL on your wordpress site using Cloudflare’s Free Flexible SSL
Note: Make sure you take a backup of your website first in case something goes wrong!
How to:
Step 1: Create an account at Cloudflare.
Step 2: Add your website and select the free plan. Follow the steps on setting up your domain.
Step 3: Once your domain was successfully setup, now click “Crypto” at the top for the page.

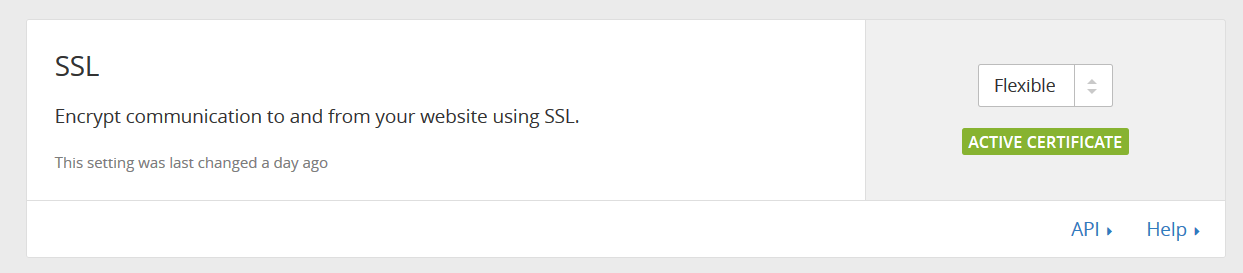
Step 4: On the “Crypto” page, in SSL option choose “Flexible”
Step 6: Download and install another plugin name SSL INSECURE CONTENT FIXER to fix the contents on your site.
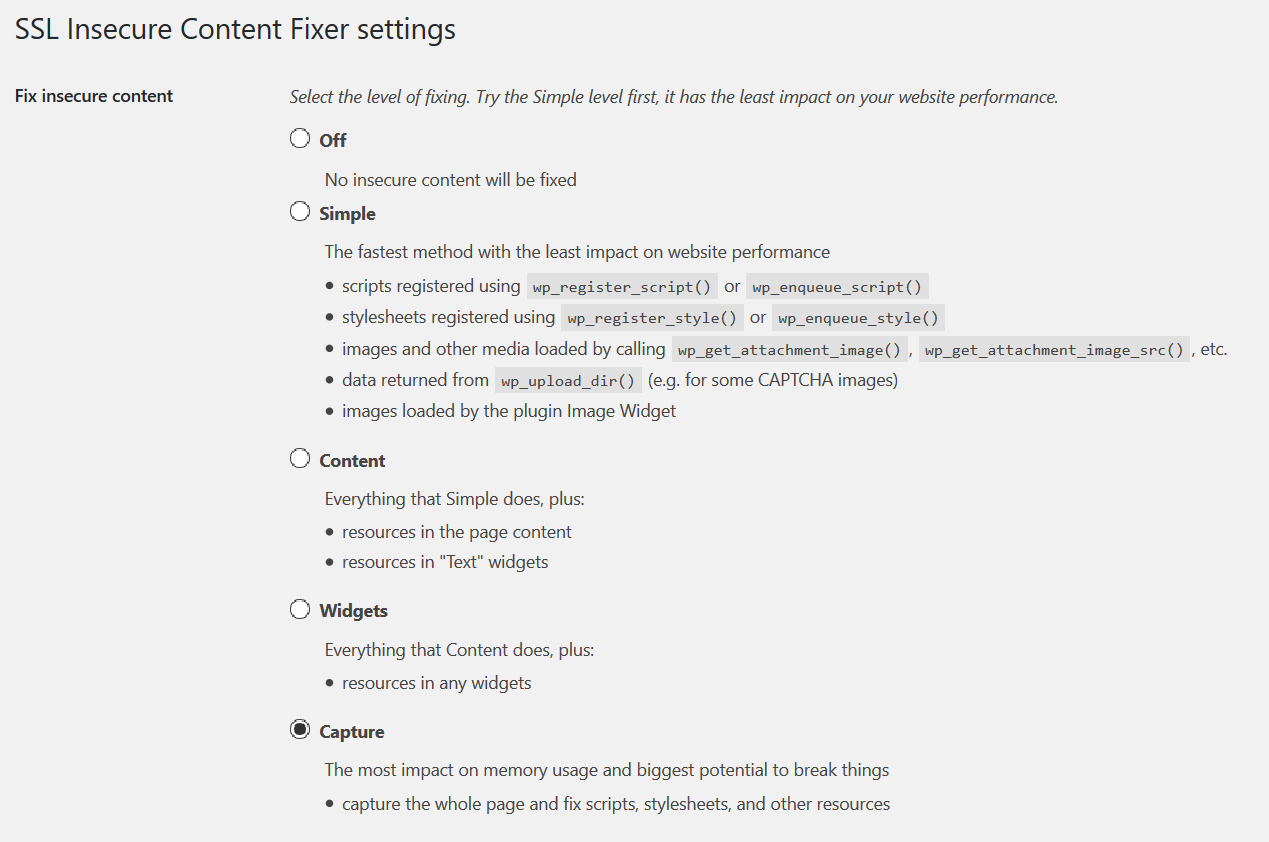

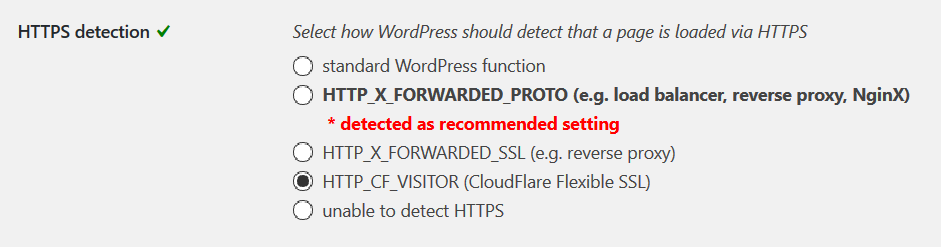
Step 7: Now click Page Rules on the top and click Create page rule and add your website as http://*yourwebsitename.com/*
Then select the settings as “Always Use HTTPS”
Now enjoy free SSL for your WordPress website 🙂