
Welcome back guys. Today we will see how you can check for vulnerabilities using Nessus.
Usually vulnerability scans are done before doing the penetration tests. The database of Vulnerability scanners contains the list of all the knows vulnerabilities and checks if your system or network is vulnerable to those. Later pentesters check if the scan results are true or not.
Vulnerability scanners are quite known for being inaccurate. And it is fair right, if vulnerability scan can give you complete vulnerability list who needs a pentester ?
Nessus is one of the famous vulnerability scanners out there and it has become a standard for pentesting. Recently even the U.S government has switched to Nessus and now all of their federal office and U.S. military bases use Nessus to check for vulnerabilities.
If you want to be a white hat hacker/pentester, you have to be familiar with vulnerability scanners.
Step 1:
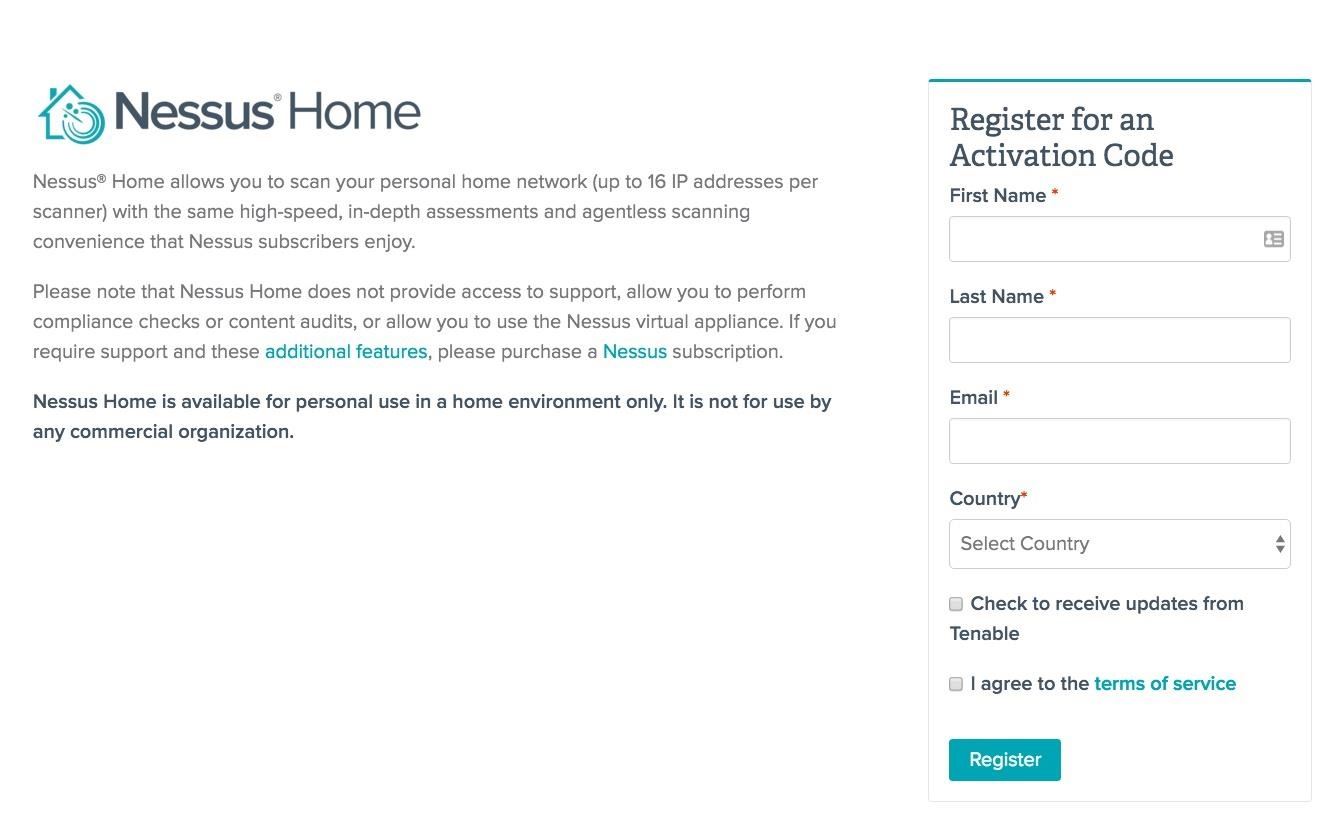
First download Nessus( Free version ) from the Tenable website. You can find it right here. You have to be registered to download, so give your mail to receive the activation code and start downloading process by selecting your Operating system.
Step 2:
Once your download is completed, install Nessus. Your default browser will open and shows something like the one below. Nessus uses a client and server architecture. Your server on localhost and the browser represents the client.

You are very likely to receive a warning like the one below which says “Your connection is not secure.”
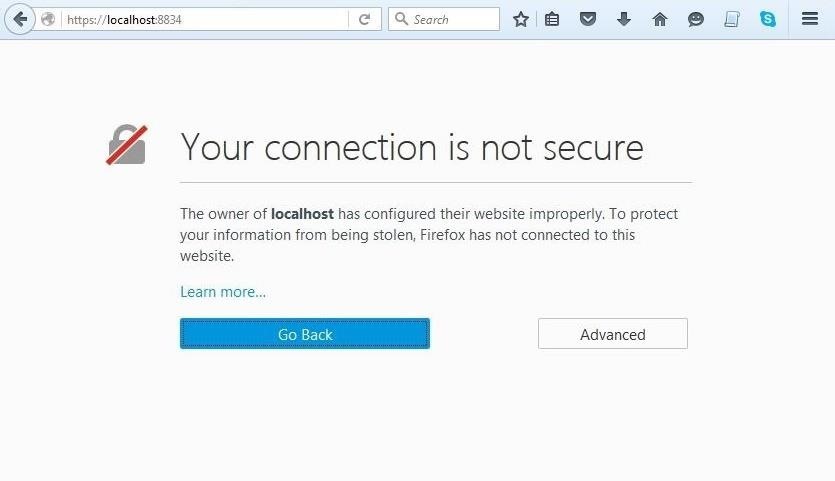
Now you have to enter an exception for the Nessus connection on the port 8834.

Step 3:
Now we are ready to use Nessus and find vulnerabilities. You have to first set up an account. This is the account which you will be using to log into the Nessus server.
Once you activated the user you are good to go.
Step 4:
Now you will receive a screen like that below. Select “New Scan.”

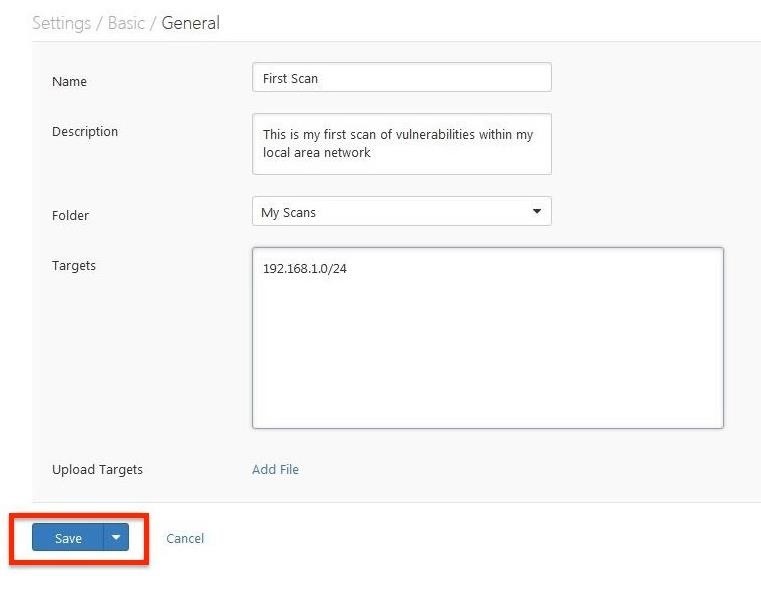
This opens a screen, which asks you to name your scan and enumerate your targets.
For simplicity sake I named it “First Scan” and had it scan my local network at 192.168.1.0/24. You can name yours whatever you like, but make certain to use the IPs on your network, then click “Save.”
Now click on the “Launch” button.
Step 5:
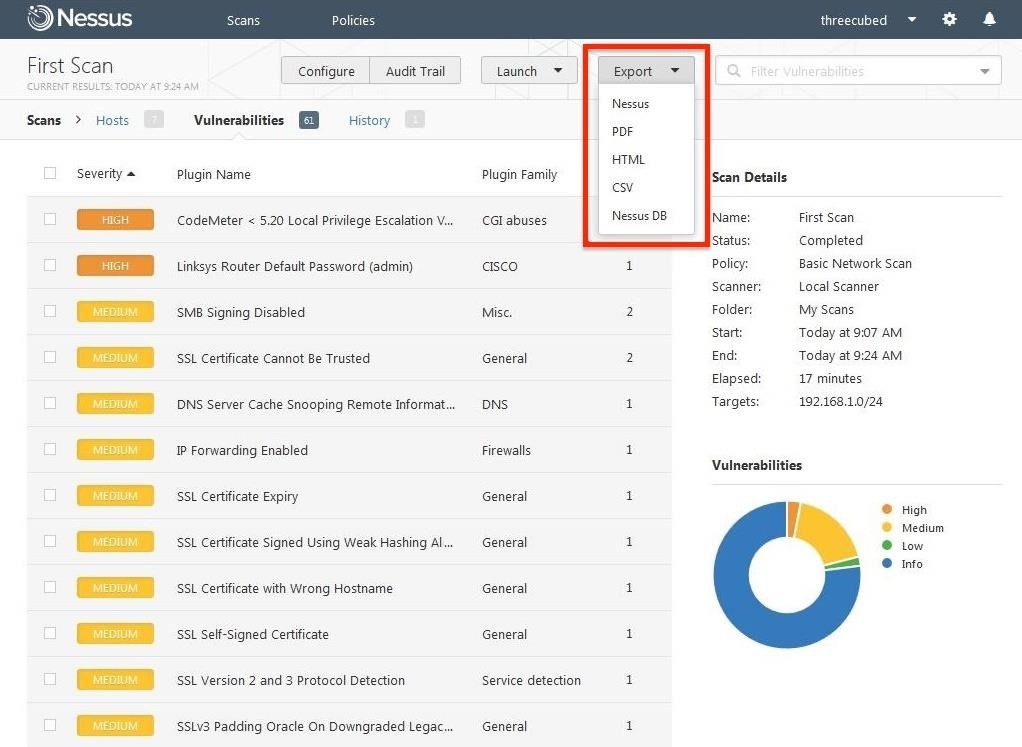
When the vulnerability scan is complete, it will list each of the hosts by IPs scanned, and the associated risks to each. The risks are color coded, with the burnt orange being the most critical.

Click on “Vulnerabilities” in the top-line menu to display all the vulnerabilities found on the network.
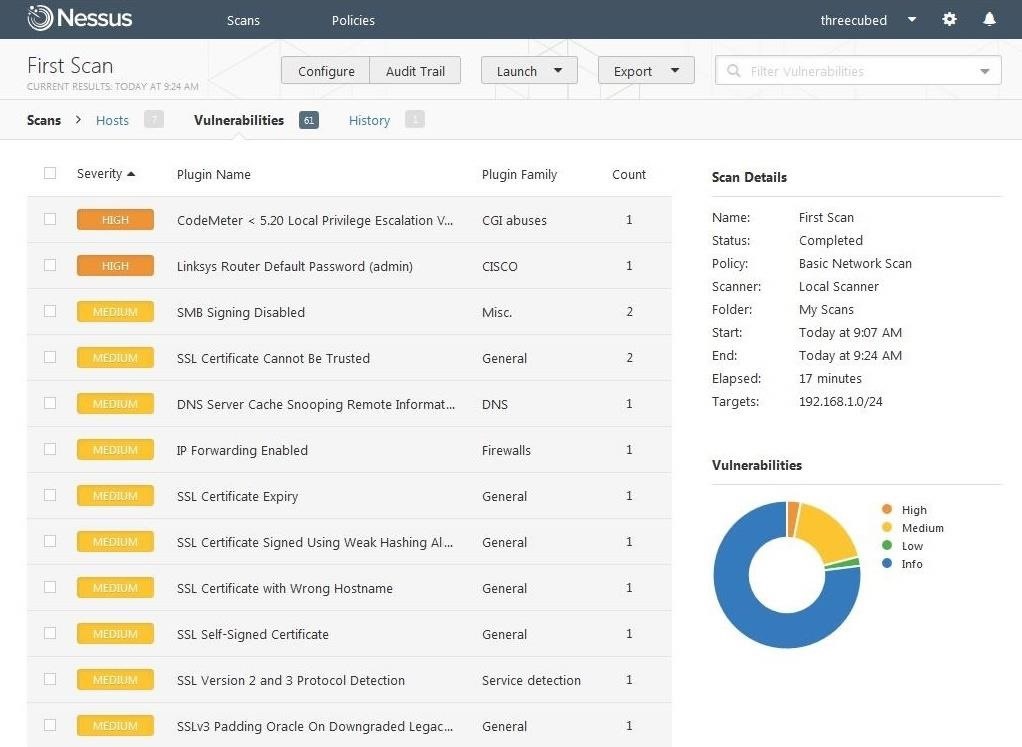
When an individual vulnerability is selected, it displays more detail on that particular vulnerability.
Finally, results can be saved in several different formats for reporting purposes. Click on the “Export” tab to pull down a menu with:
- Nessus
- HTML
- CSV
Nessus DB
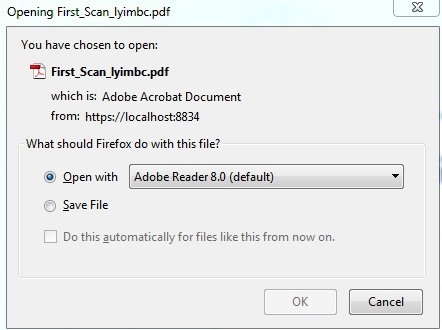
In my case, I chose PDF; a menu pops up with the name of the file, and asks which program to open it up with.
Nessus has become the de facto standard in vulnerability scanners, and every white hat hacker should be familiar with it.
Hope this tutorial helped. Share your opinion in the comments below