
The System restore feature is the one that lets you go back in time and undo the changes made. Mysteriously, this feature is disabled in Windows 10 by default. We ae not sire tif this is an intentional action. But system restore will save your ass when you come across a problem with installing a driver, installing an app or driver update. It smartly reverts the last changes made to the computer rather than doing a clean install of Windows again.
To enable the System restore follow these simple steps:
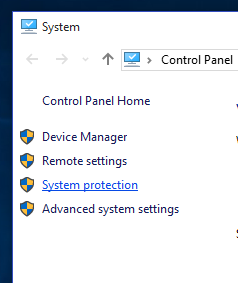
1. Right click on the Start menu Button and select the System.

2. Click on System Protection.
3. Under Protection Settings, select your primary drive and click the Configure button.
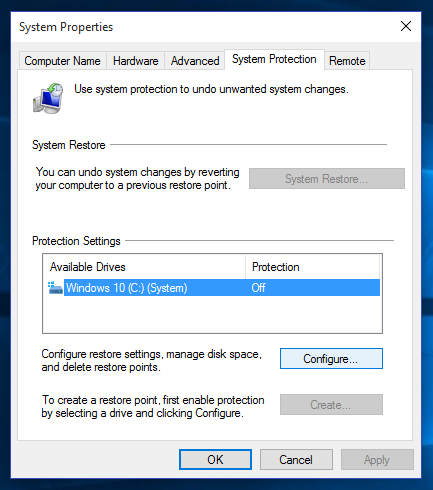
4. Select Turn on system protection and then adjust the Max Usage percentage to something above zero. I like to set mine to 10%.

5. Click OK and System Restore has been enabled.