
In this tutorial we are going to show you how to use free SSL on your wordpress site using Cloudflare’s Free Flexible SSL
Note: Make sure you take a backup of your website first in case something goes wrong!
How to:
Step 1: Create an account at Cloudflare.
Step 2: Add your website and select the free plan. Follow the steps on setting up your domain.
Step 3: Once your domain was successfully setup, now click “Crypto” at the top for the page.

Step 4: On the “Crypto” page, in SSL option choose “Flexible”

Step 6: Download and install another plugin name SSL INSECURE CONTENT FIXER to fix the contents on your site.
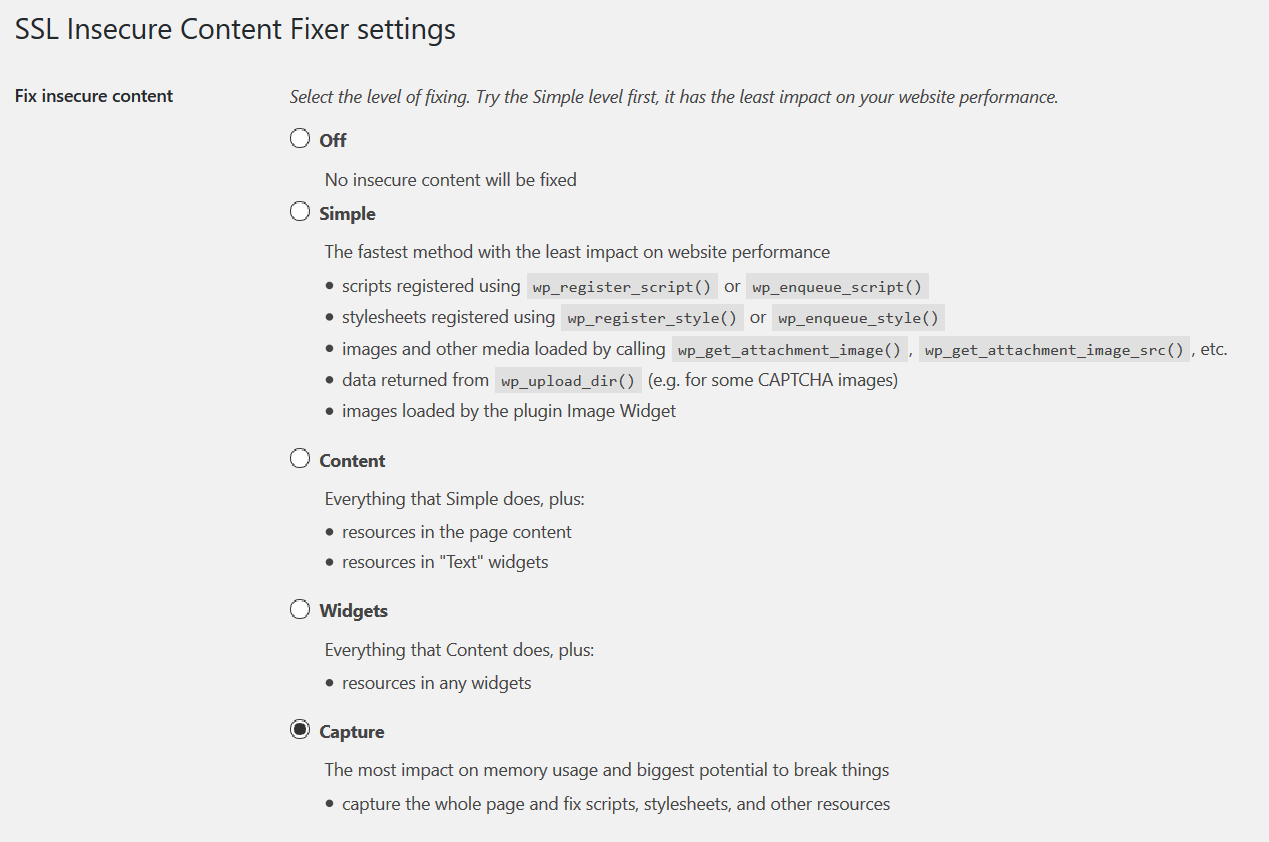
Settings for SSL insecure Content Fixer

Settings for SSL insecure Content Fixer

Settings for SSL insecure Content Fixer
Step 7: Now click Page Rules on the top and click Create page rule and add your website as http://*yourwebsitename.com/*
Then select the settings as “Always Use HTTPS”
Now enjoy free SSL for your WordPress website 🙂